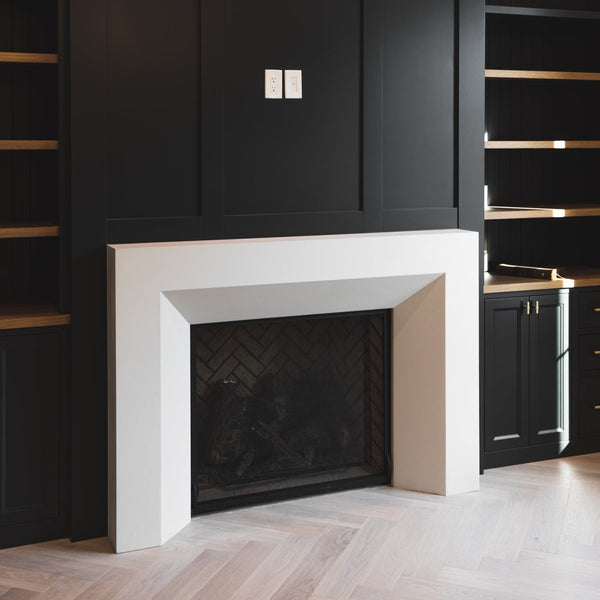
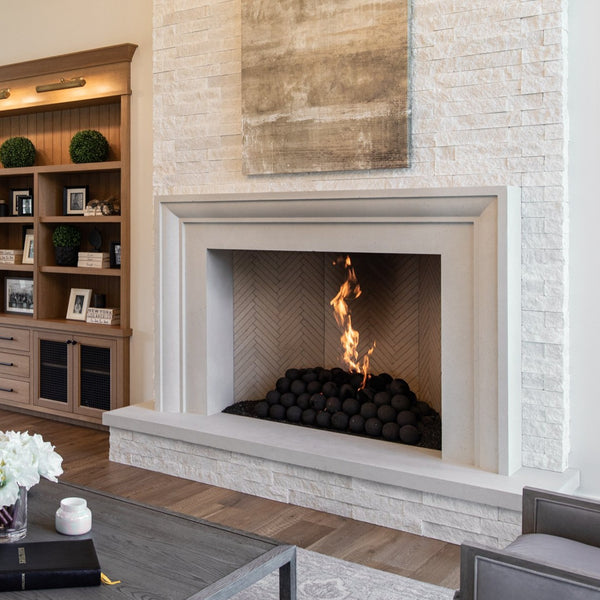
How to Install a Cast Stone Fireplace
Items Needed:
- 3 2x4 Framing Studs (two short studs and one long stud)
- 1 Tube of Construction Adhesive
- 2 Tubes of Colored Caulking
- Sheetrock Anchors
- 4” Wood Screws
- Drill Bits:
- 3/16” Masonry bit for drilling holes in precast material
- 3/8” Masonry bit for countersink
- Screw Gun
- Caulk Gun
- Level
- Measuring Tape
This process is a step-by-step guide for installing a complete fireplace, starting with the hearth, and going through each necessary step until the caulking. Please use safety tools throughout this process. Always have another person helping with the installation. This process may take a few hours. Follow each step carefully and read thoroughly to understand each detail. Now let’s get started!
Additional Information
How to Drill and Screw:
When installing pieces, drill with the 3/16 Drill bit, then use the 3/8 bit for the countersink—then use the 4” Wood Screws to secure the cast stone into place. Always aim to screw into a wall stud. If a wall stud is not there, use a drywall anchor.
Installing Mantle Surround:
If you’re looking to install a fireplace with the mantel and sides as one piece, please follow these steps as if you were only installing the top mantel. Then, it’s the same process with a long wooden beam and securing. Finally, go to step 16 and follow until the end.
Patching Holes:
Mix the dry contents thoroughly with water until you get oatmeal-like consistency to patch the holes. Wait 1 hour, sand down with 220grit sandpaper, and use a sponge to touch up the paint.
Unpack/Lay Out
It’s important to use caution when uncrating and unpacking the mantel. Lay the mantel pieces on the floor in the shape they’ll be installed. This is to ensure you have the correct pieces in their right locations. It’s important to note the order in which the piece goes on, which we’ll review in this manual.
----------
Step 1: Placing the Hearth
The first piece to go on is the hearth. First, spread construction adhesive where you will place the hearth then. Then, with two people on either side of the hearth, please pick it up and place it on the floor against the wall. Make sure it is centered with the fireplace.
Step 2: Installing the Hearth
Drill the cast stone into the wall stud, then use the 3/8 bit for the countersink. Then using the 4” Wood Screws: screw through the holes and into the wall stud securing the hearth. If the hearth is less than 1”, then only glue is sufficient.
Step 3: Align the Side Fillers
Set up the filler against the wall and aligned it with the fireplace. Like step 4 with the hearth, you’ll drill two holes into the top and bottom of the filler. Making sure to drill the holes on the outside edge of the fillers, this way the leg will cover the holes. Repeat for all fillers.
Step 4: Installing the Fillers
Put construction adhesive glue onto the back of the filler to hold it in place once it’s against the wall. Next, drill the screws back through the filler and into the wall stud; a drywall anchor is required if there is no wall stud. Repeat for all fillers.
Step 5: Adding 2x4s
You’ll be placing the legs next. Measure the distance between the legs, ensuring they are placed correctly and centered; mark and remove the Leg. Placing the 2x4, ¾ inside from the outer edge of the Leg. Secure the 2x4s into the wall adding a stud to secure your legs on the side.
Step 6: Placing the Legs
Put construction glue on the hearth/floor where the Leg will stand and along the 2x4. Then, with 4” wood screws, screw into the 2x4 studs. Repeat this with the other Leg.
Step 7: Measuring the Mantel
Lastly, you’ll install the mantel. Measure from the bottom of the mantel to the top and then minus an inch from that number. Measure from the Leg up using the number from the mantel (minus the one inch) and place a mark. You’ll align the top of the 2x4 horizontally with the mark on the wall. Secure the 2x4 into the studs using the 4” wood screws.
Step 8: Placing the Mantel
Place construction glue on top of each Leg and across the top of the long 2x4. Then, using two people to lift either side, place the mantel on top of the legs. Make sure it’s centered and aligned. Check your measurements to be sure all the overhangs look good.
Step 9: Secure the Mantel
Take three screws and drill them diagonally through the back of the mantel and into the 2x4. This should give more support to the mantel.
Step 10: Caulk the Joints
Using your caulk gun, add finishing touches by caulking all joints. This will add a smooth and finished look to your fireplace. Now you’re finished!
Following each step, you should have a beautiful, finished fireplace with a mantel. Each piece should be well secured and last for years to come. Don't hesitate to get in touch with us with any questions; we’ll be happy to help!